

Noteworthy Plant and Tree Selection Tips for Your Tucson Landscapes
Table of Contents Plants and trees are inevitable aspects of the landscape. Picking the right vegetation for the space is essential. You can rely on landscaping contractors to make informed decisions related to this matter. TL;DR: A Few Crucial Tips to Select Plants and Trees for the Landscape ● Consider basic plant features such as […]
Damianita – Chrysactinia Mexicana
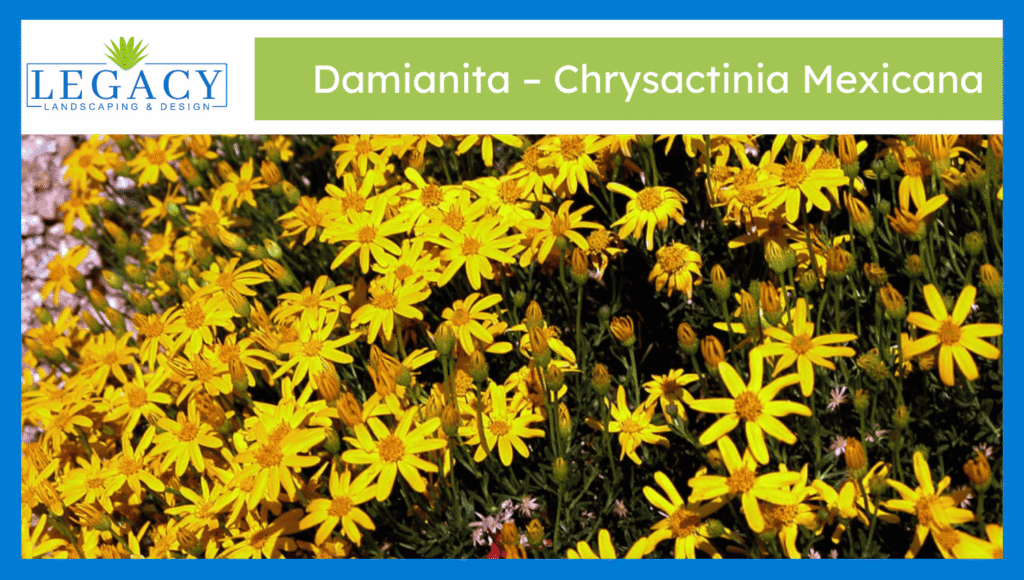
Damianita (Chrysactinia mexicana) is a small evergreen shrub native to Texas and northern Mexico. The shrub maintains a thick shape, which grows to heights between 1 to 2 feet
Hello world!
Welcome to WordPress. This is your first post. Edit or delete it, then start writing!
Mistakes To Avoid When Working With Artificial Turf
Table of Contents An artificial turf is a fuss-free option for your landscape. It can work as your children’s play area or even be used for sports. But the quality matters the most when searching for artificial turf solutions. TL;DR: Getting artificial turf carefully Avoid buying artificial grass that does not match your project type. […]
Consider Regular Lawn Irrigation System Repair and Maintenance for Consistent Performance

Table of Contents Irrigation systems help maintain efficiency and uniformity in lawns and landscapes. Planning, installing, and maintaining these systems is crucial. You can connect with a reliable service to ensure enhanced performance. TL;DR: Regular Irrigation System Repair and Maintenance Consulting professionals can help make a difference. Find a fitting irrigation system for your lawn […]
Outdoor Entertainment Areas: Adding Luxury To Your Outdoor Space
Table of Contents Landscaping experts can help choose luxurious elements for your landscape. You can enhance the look with outdoor entertainment areas. With unique zones for all tasks, your space will become versatile. TL;DR: Luxurious outdoor entertainment areas Invest in unique zones for a proper flow and structure Choose furniture that is suitable for different […]
Landscaping Solutions For A Large Garden: Understanding The Design
Table of Contents Landscaping can help transform gardens of all sizes. Landscaping experts can craft efficient strategies depending on the size of gardens. Large gardens can also look aesthetically pleasing and functional. TL;DR: Landscaping for a large garden The scale of your garden is crucial to how different elements will be placed. If you want […]
Security Lighting: Importance, Types, and Installation Process
Security lighting systems are designed to increase visibility and deter intruders at night with the illumination of vulnerable areas. They reduce blind spots, improve safety, and support surveillance systems. These lights are integrated with sensors that activate automatically with the detection of movement. Security lights discourage intruders by making them feel they are exposed or […]
Accent Lighting: Importance, Types, and Installation Process
Accent lighting is used to highlight focused objects or areas to draw attention. It goes beyond the basic illumination, adding depth and dimensions to objects. Accent lighting emphasizes architectural features, artwork, or textured surfaces. It utilizes directional beams, usually brighter than ambient lighting, to focus on particular objects. Unlike task lighting, which provides focused light, […]
Shadow Lighting: Importance, Usage, Installation Process
Shadow lighting is used to create shadows of objects onto the surfaces to add depth, dimension, and visual interest. In this technique, light sources are placed to develop dark areas that enhance the aesthetic of a space. Shadow lighting is used to highlight architectural features, create texture, mood, and dynamic effects in landscaping settings. The […]