

Velvet Mesquite – Prosopis velutina
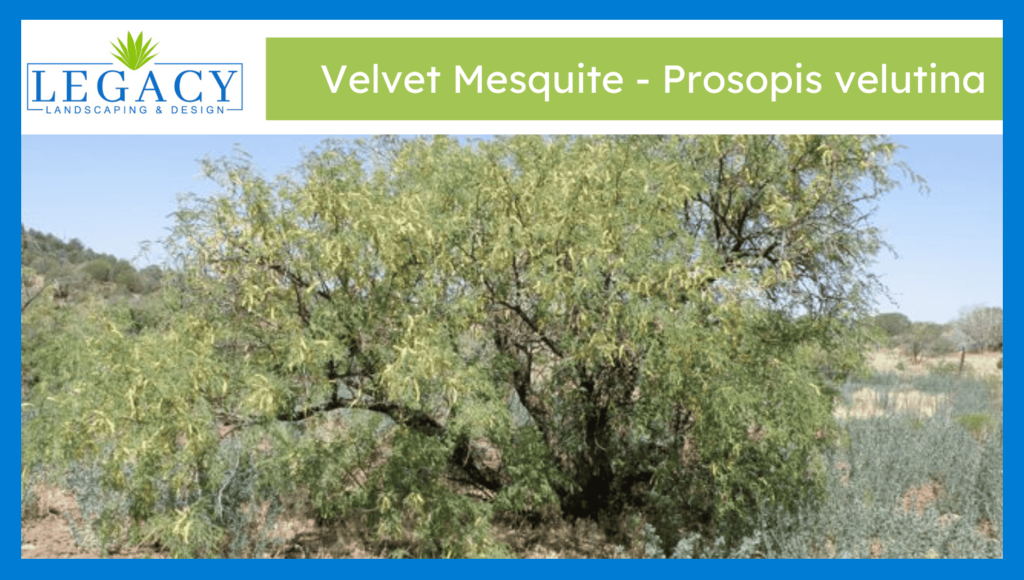
Desert native Velvet Mesquite (Prosopis velutina) spreads its feathery leaves and survives easily on little water while adjusting well to dry habitats. This tree has delicate velvety leaves that grow on twisted branches which create a shaded environment. The deciduous tree grows multiple trunks while developing wide canopies that provide shelter for area wildlife. The […]
Little Leaf Cordia – Cordia parvifolia

The scientific name of Little Leaf Cordia is Cordia parvifolia but people also refer to it as Cordia parvifolia. Little Leaf Cordia develops a natural round shape as it grows to lengths between 3 to 6 feet. Little Leaf Cordia displays grey-green leaves with a rough texture and maintains excellent tolerance to dry conditions. During […]
Arizona Rosewood – Vauquelinia California
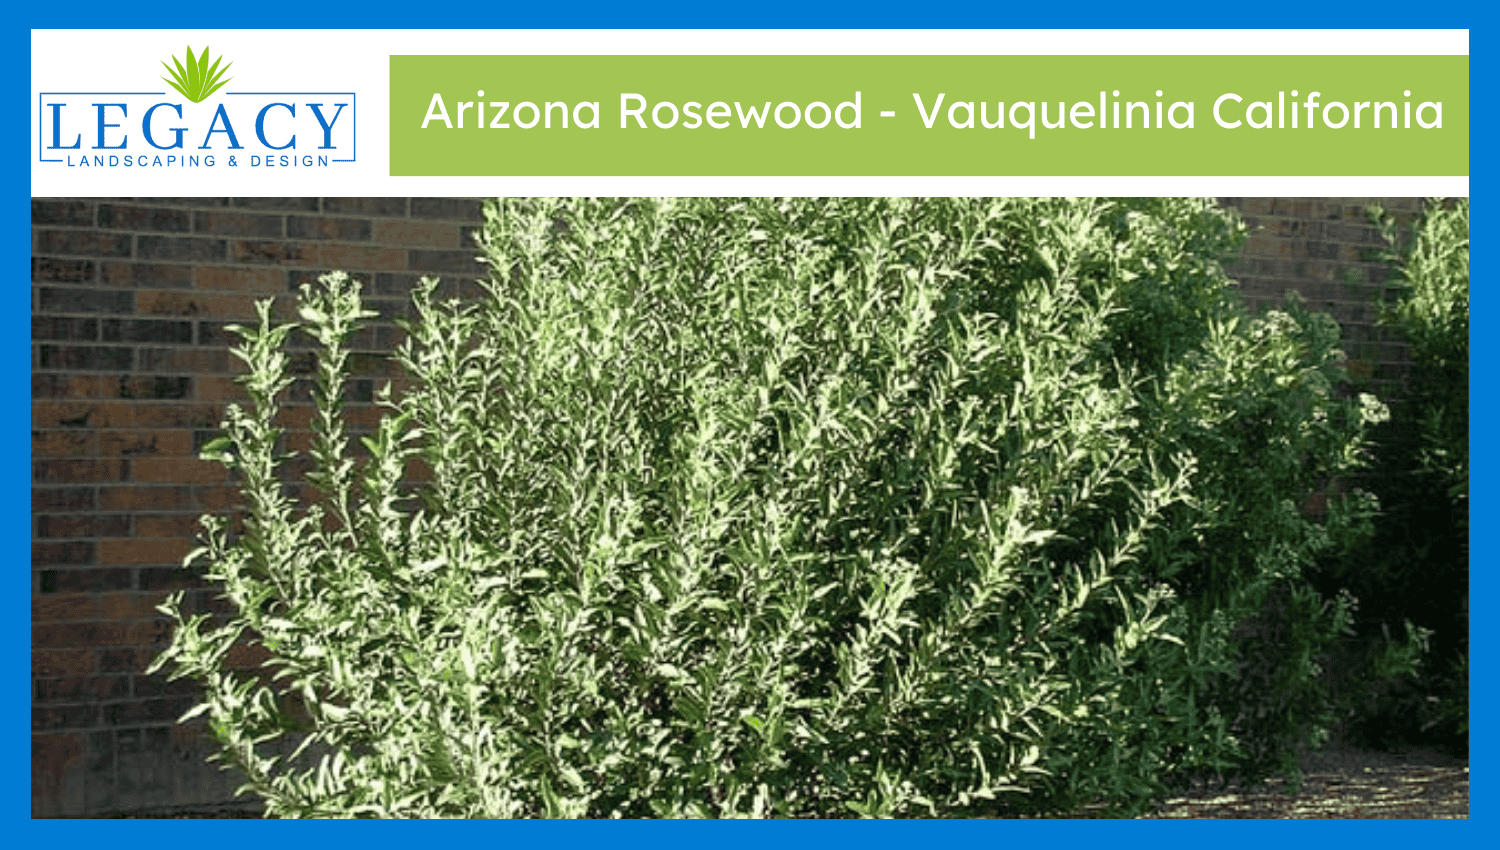
Arizona Rosewood (Vauquelinia californica) is an evergreen shrub or small tree native to Arizona and northern Mexico. The plant features thick dark green foliage that resembles true rosewood because of its leathery leaf texture and glossy surface. The plant displays clusters of small white flowers in springtime before it produces red seed capsules during later […]
Desert Lavender – Hyptis emoryi
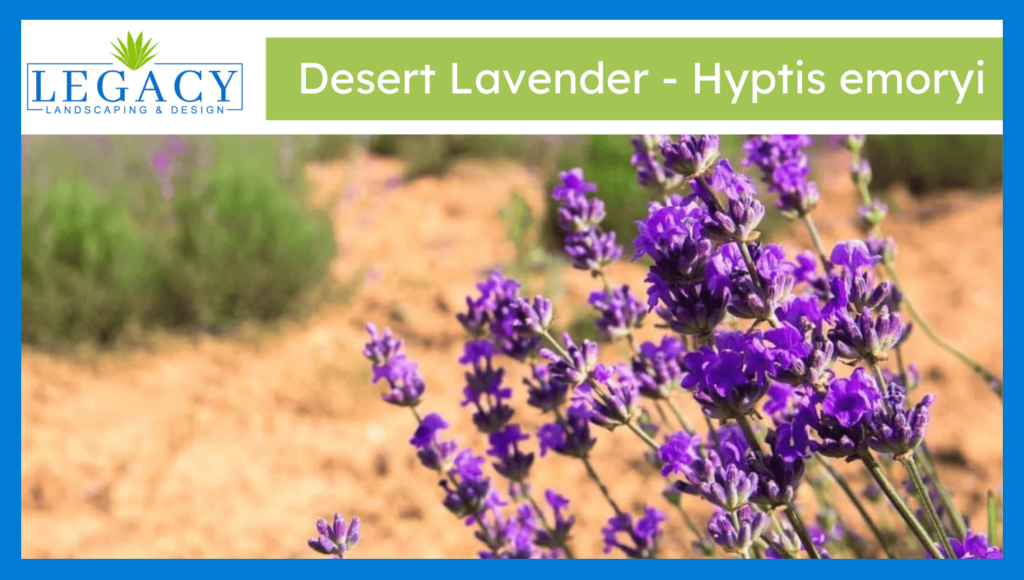
Desert Lavender, also known as Hyptis emoryi, is a fragrant evergreen shrub found in the arid regions of the lower southwest and northern Mexico. The plant reaches heights from 6 to 10 feet when it grows on rocky washes and desert slopes. The plant displays silvery tones because its grey-green leaves are covered with delicate […]
Feathery Cassia – Senna Artemisioides
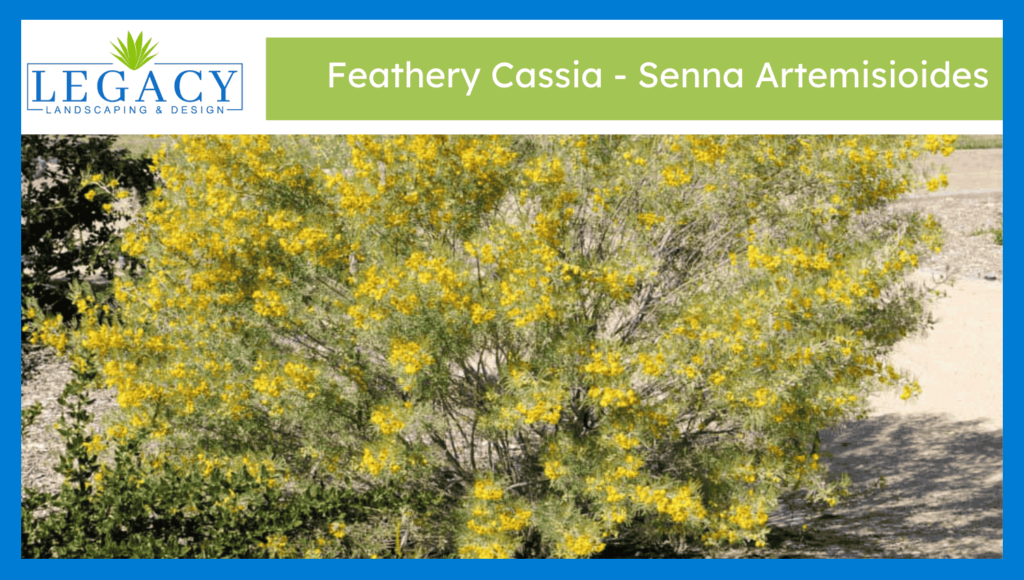
Feathery Cassia represents Senna artemisioides which grows as an evergreen bush-like plant with silvery-gray greenery and bright yellow flowers. This Australian native plant shows a strong ability to flourish in hot dry climates since it naturally grows in semi-arid regions. Feathery Cassia displays fern-like leaves that create an airy texture which makes it perfect for […]
Chuparosa – Justicia californica

Chuparosa (Justicia californica) is a flowering shrub that originates from the southwestern United States and northern Mexico. It produces tube-shaped flowers with red, orange, or yellow petals that attract hummingbirds, together with bees and butterflies. This plant has very thin branches whose leaves are small and spread out, yet it goes without leaves in dry […]
Firecracker Penstemon – Penstemon eatonii

Firecracker Penstemon (Penstemon eatonii) displays bright red tubular flowers that serve as hummingbird attractants, and it exists as a perennial plant. Firecracker Penstemon grows naturally in dry conditions throughout soils that drain well at a steady pace. This plant species occurs naturally within the southwestern sections of the United States and extends its habitat along […]
Hop Bush – Dodonaea viscosa

Hop Bush (Dodonaea viscosa) is an evergreen shrub that demands warm regions with arid conditions and coastline environments worldwide. The plant thrives in dry, rocky growing conditions while surviving wind and salt damage and enduring periods of drought. The lance-shaped green leaves of Hop Bush survive winter without changing color but develop bronze or purple […]
Brittlebush – Encelia Farinosa

Brittlebush (Encelia farinosa) grows as a drought-tolerant shrub throughout the southwestern USA and northern Mexican regions. Brittlebush finds its perfect home in arid desert terrains, where it spreads its silvery-green leaves alongside bright yellow daisy flowers over hillsides. The plant carries this name due to its weak stems that snap with ease. Traditional practitioners collect […]
Black Dalea – Dalea frutescens

The perennial shrub Black Dalea (Dalea frutescens) blossoms as a drought-tolerant plant with purple flowers and feathery green foliage. It grows natively across northern Mexico and the southwestern United States region, where it grows among arid landscapes and dry rocky soils. Its low-care requirements allow the plant to attract butterflies and bees, which support the […]